
How to Measure Print Quality
Print quality is an all-encompassing term, with the final result producing a brochure, poster or flyer that looks and feels a certain quality. However, achieving a professional outcome is a little more complex than many people think.
Print is a highly technical field, with projects relying on both software and hardware, the interplay between digital and a tangible printed piece of work, and small tweaks in settings making an outsized difference in the outcome. Print quality can’t necessarily be measured on a 1-100 scale, several factors affect the result.
Print Resolution: Dots per Inch (DPI) and Pixels per Inch (PPI)
Speaking, the resolution of a print determines its sharpness; how clear it looks to the naked eye. The higher the number, the better the quality, generally speaking (although it’s a little more complicated than that!).
The dots or pixels per inch effectively measure the number of each that can be printed on your chosen material. When you see an image that looks ‘pixelated’, it is likely the result of the DPI/PPI being too low.
![]()
Now, DPI is the one that is relevant for the printer. However, the PPI also affects the outcome, as it is the digital version of DPI; generally, a 1:1 ratio tends to work best for a high-quality print.
To determine the DPI that you should use for your print run, several variables should be considered:
⦁ Size. If you scale an image to poster size, you will need a higher DPI to ensure you keep the detail in your print. This is because each pixel will take up more space on the paper, which can lead to a pixelated image if the DPI is too low.
⦁ Distance from the viewer. For a poster that is designed to be looked at from several meters away, you may not need the high DPI you expect. Conversely, the size of a small brochure, even though the viewer will see it up close, may mean you do not need a high DPI.
⦁ Printer + Paper + Ink = Quality. The perceived ‘crispness’ of an image is not just determined by DPI, it’s not that simple. Other factors that will determine the quality are the printer used, the type of paper (more on that below), and whether a cheaper quality ink is being used.
In general, for black and white text, we recommend 600 DPI, while 300 DPI is sufficient for photographic reproduction, a brochure or a flyer. If you go below this, your printed result will likely be substandard.
![]()
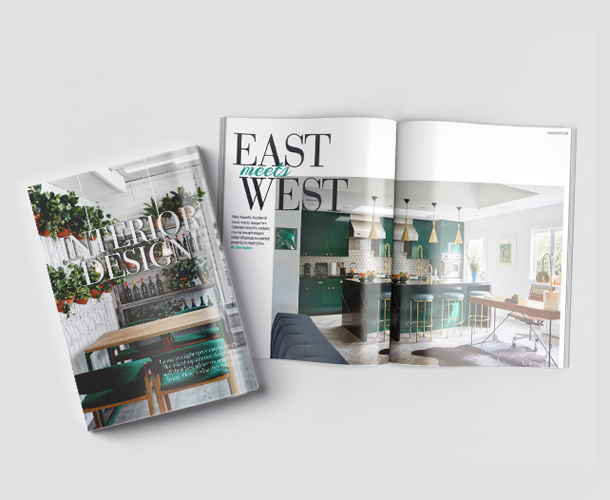
For a professional artist looking to print a high-quality magazine-style brochure, 600 DPI may be more appropriate. This will enhance the detail of the print and will have a pristine finish for optimal results.
Achieving Colour Accuracy
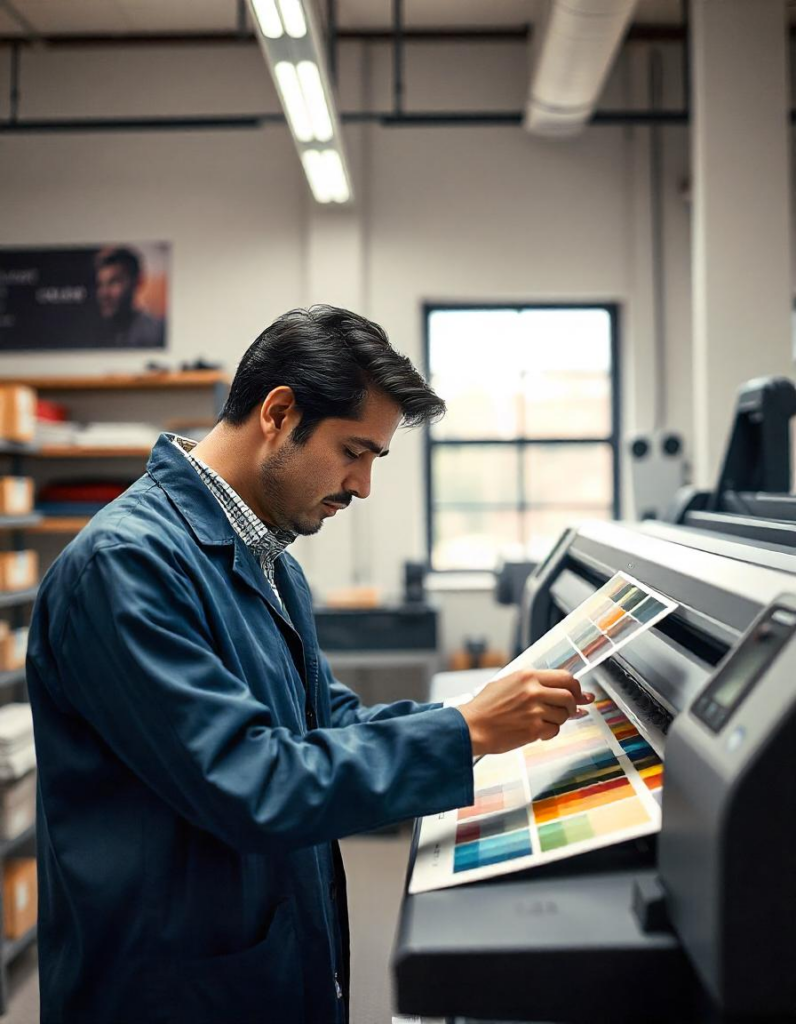
The most frustrating thing when it comes to a print project is achieving colour accuracy, in other words, ensuring that what you see on the screen is exactly what you get in the final print. It’s easier said than done, and can be an infuriating experience!
Several factors affect the colour accuracy of your project including the type of paper used, whether the printer and your screen have been calibrated correctly, and the type of ink being used.
But the main thing you need to understand is that your computer screen uses RGB to show colours, whereas print is done in CMYK. When you print something at home, the software automatically tries to match the colours as closely as possible. The results aren’t perfect, but for at-home printing, that generally does not matter to the user.
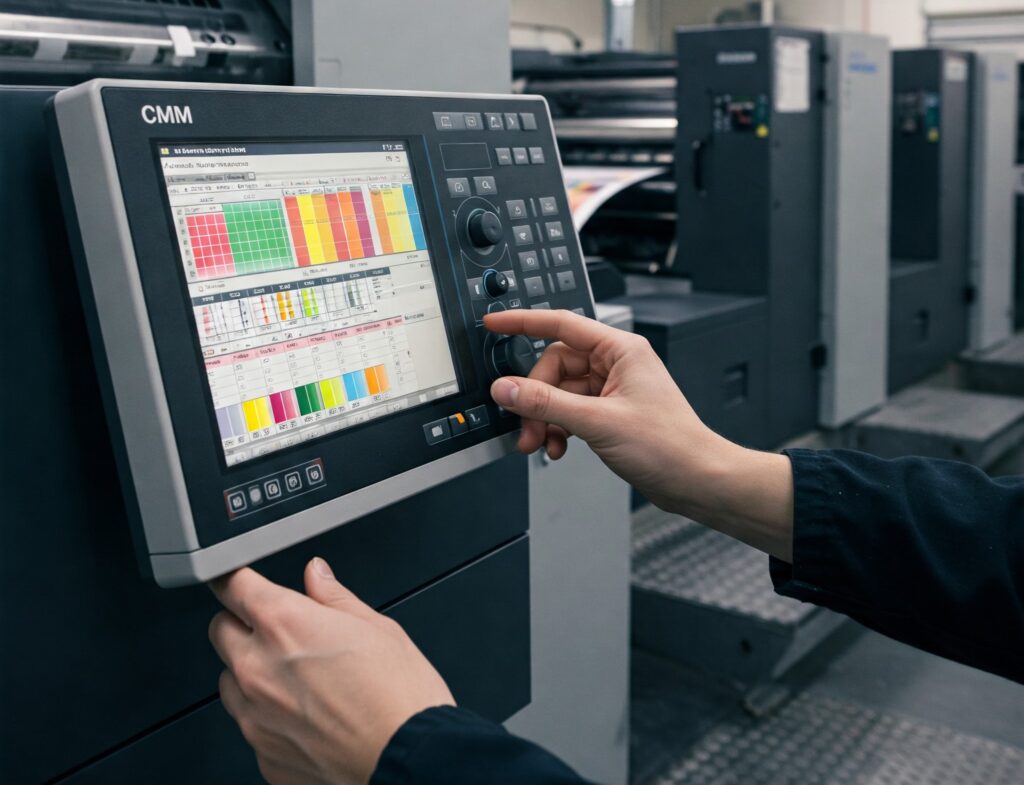
More expensive printers, like those you would find with a professional printing company, use a colour management module (CMM) to achieve optimal results. This is partly why some commercial printers run into the thousands of dollars.
Professional companies can give you guidance on how best to achieve colour accuracy. Ideally, you should take printing into account at the design stage of the process. If you know you’re going to be printing your design on a poster or flyer, for example, the range of colours used will have an effect.
The Paper You Choose Matters
We often see print projects go awry at the point of choosing the paper. If you go for a lower-quality paper that seems ‘good enough’, you may be underwhelmed by the result.
Further, there are differences in the type of paper used in print projects:
⦁ Matte and gloss coated. They tend to be a little more expensive, but they do give the impression of higher quality. The high shine that is achieved in gloss paper will help colours ‘pop’, and can be a good choice for flyers sent out by boutiques or specialist shops, for example.
⦁ Silk or satin finish. This type of paper has a smoothness to it when touched, but lacks the shine that you get with glossy paper. This can work well for projects that have a fair bit of writing, where readers will not be affected by glare caused by artificial light.
⦁ Uncoated and recycled paper. This is the type of paper that you will find at your run-of-the-mill office. It’s cheaper and easier to recycle, too.
The weight of the paper also matters and affects the tactile experience of the customer. For example, light and flimsy paper will potentially feel cheap, especially if you are printing marketing material for your company.
Weight is measured by grams per square metre (GSM), but higher is not (necessarily) better. Speak with your printer to determine what will work best with what you are trying to achieve
Final Steps: Checklist and Samples
Before you hit the proverbial print button on a large run, ensure you have ticked all the boxes first. Does your file resolution match what the printer is expecting? Have you double-checked the colour profiles and paper? Go over your checklist meticulously.
Once order is placed we will pre-flight artwork and check all is good. If we have any concerns will be in touch, otherwise we send to print.